Blog

Robots 101 - Theming

Welcome (back) to the Robots 101 series! This time, we’re addressing theming your robot.

Theming your robot might not seem important at first, but having consistency between your robot, your team and social media goes a long way to delivering a strong message that your team is fully committed to the competition. Plus, those who may want to get involved in the team, but don’t want to build or code, still have an opportunity to leave a mark on your robot. Having a solid design for the outside of your robot before starting the rest of the process may even help your decision on how to tackle the event!

Step one is the planning phase. Get your team together to discuss general titles for your theme. Whether it’s cyberpunk or gothic, nothing should be written off immediately in this process. Give everyone the chance to share their ideas before deciding on a few “final” ideas. At this point, you could start finding images that visualise your theme and begin collating them. You may find the most popular theme may not work at this point - and that’s ok!

Next, you could try and create some concepts of how your robot and team mates would look at the competition. This is done best when each visualisation is unique, so that merging parts of each design together to create a final product is easier down the line. You could try using materials that your team already has on hand to make a prototype shell of your robot, or using basic wardrobe items to block out clothing choices.

Remember, your team’s theme will likely develop throughout the building process as you come up with new ways to tackle the competition. Let this happen! Being rigid in your design process will almost certainly cause issues later down the line. By the time your team gets to the final competition you’ll have a unique style to your robot, your competitors and your socials.

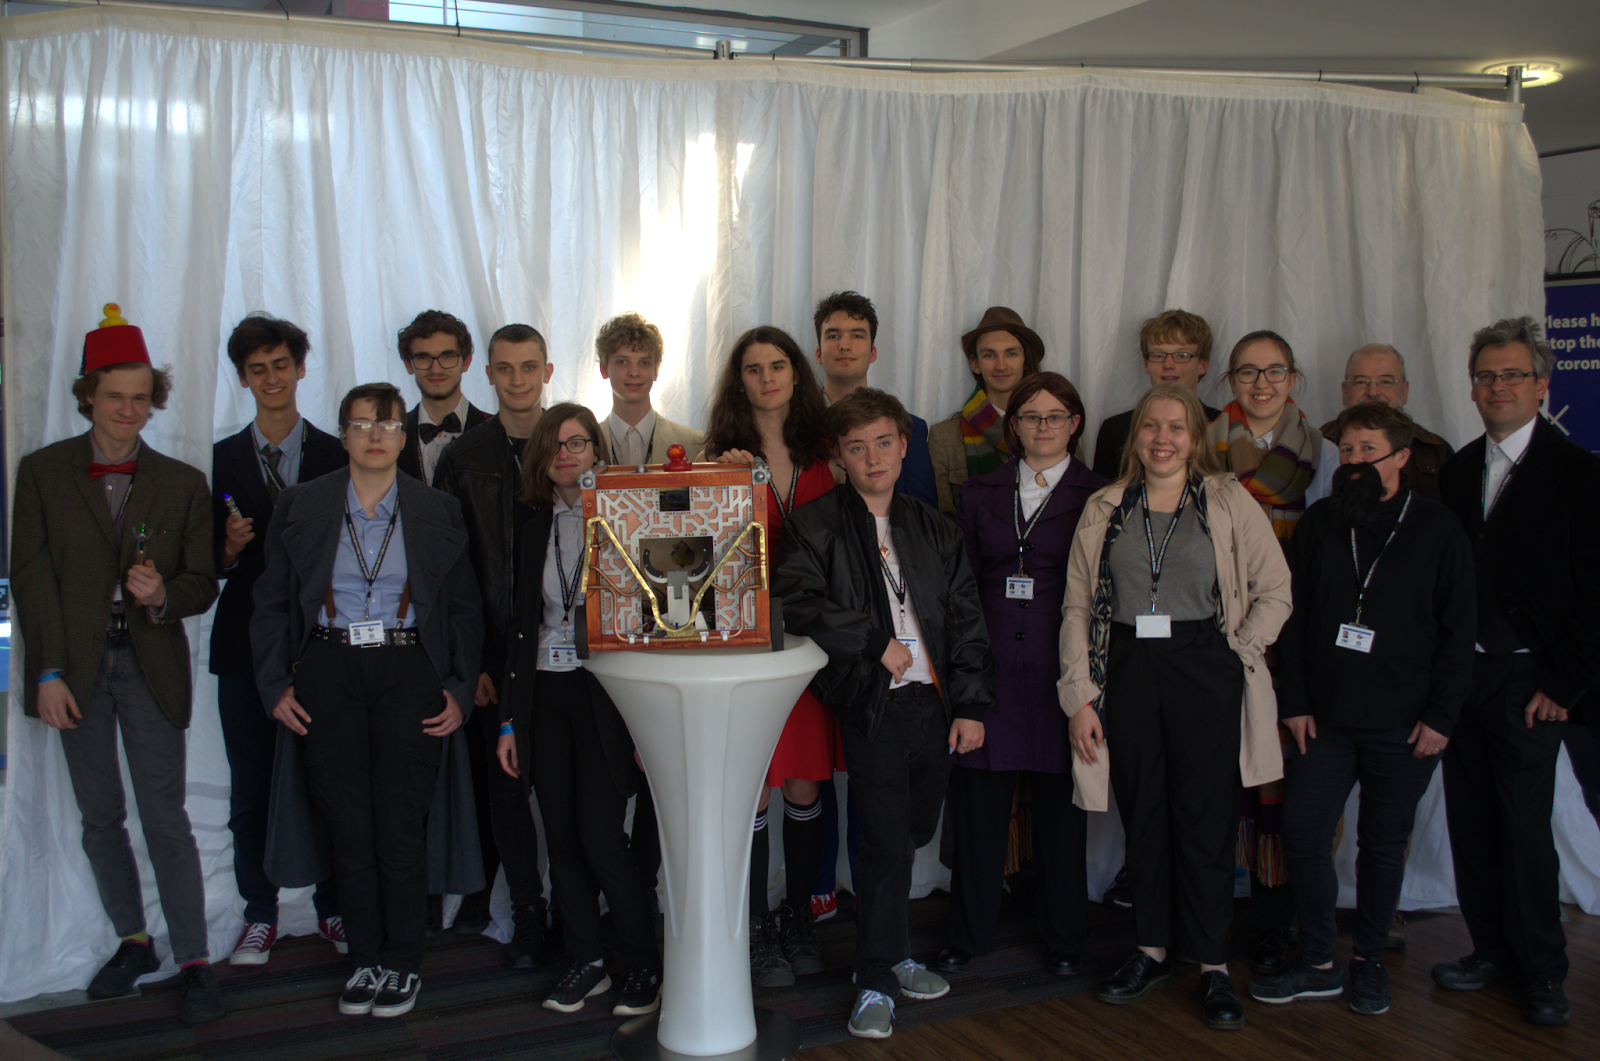
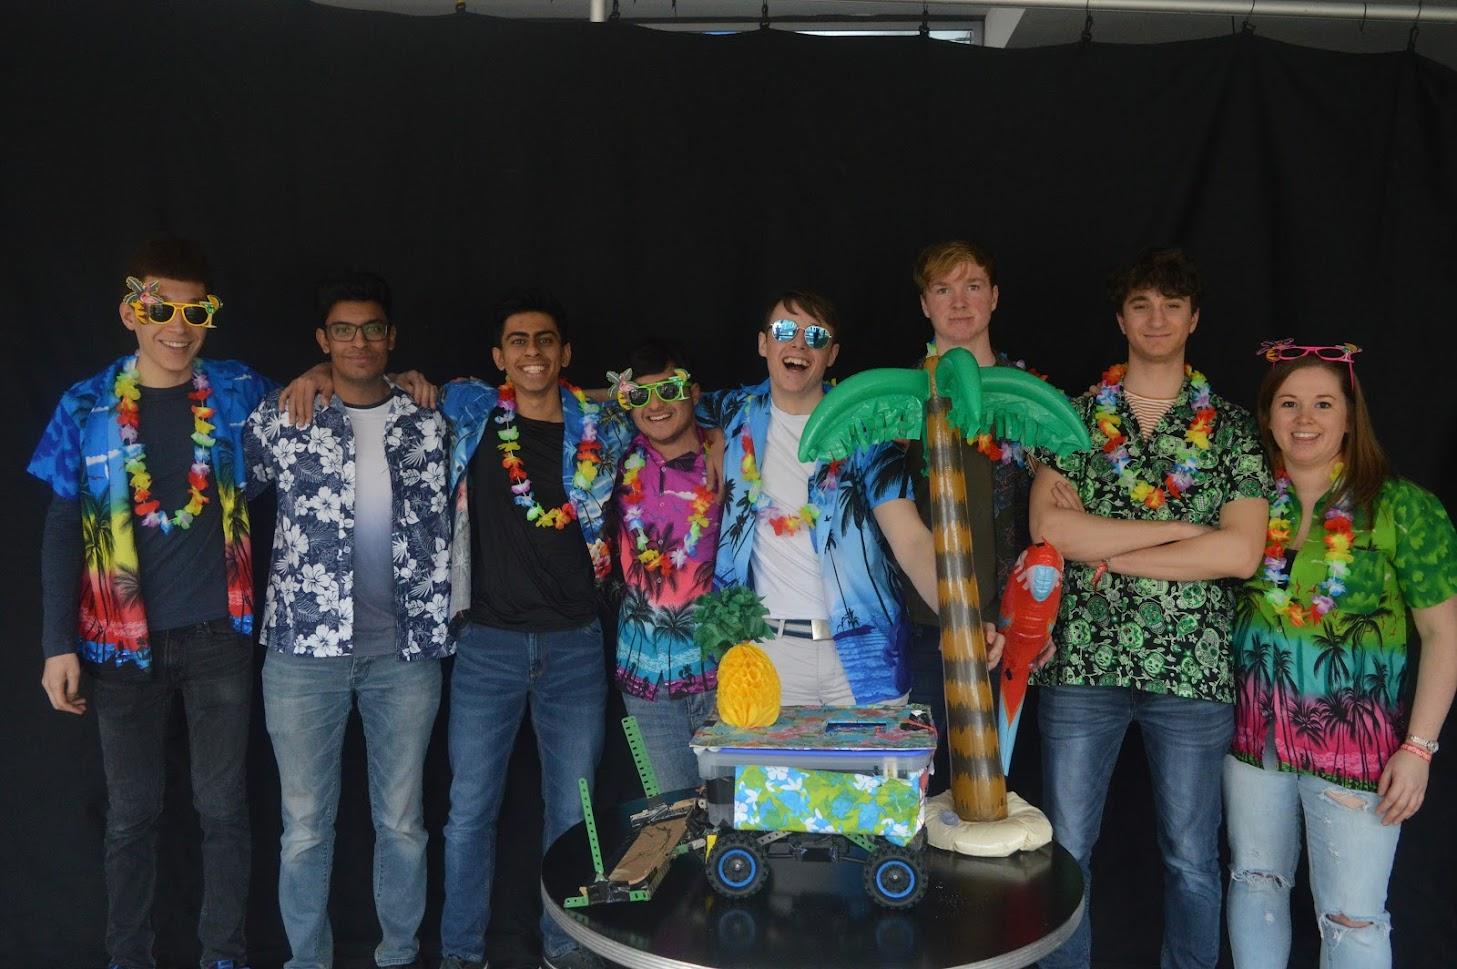
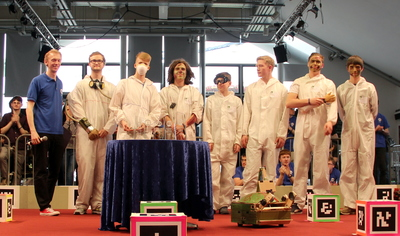
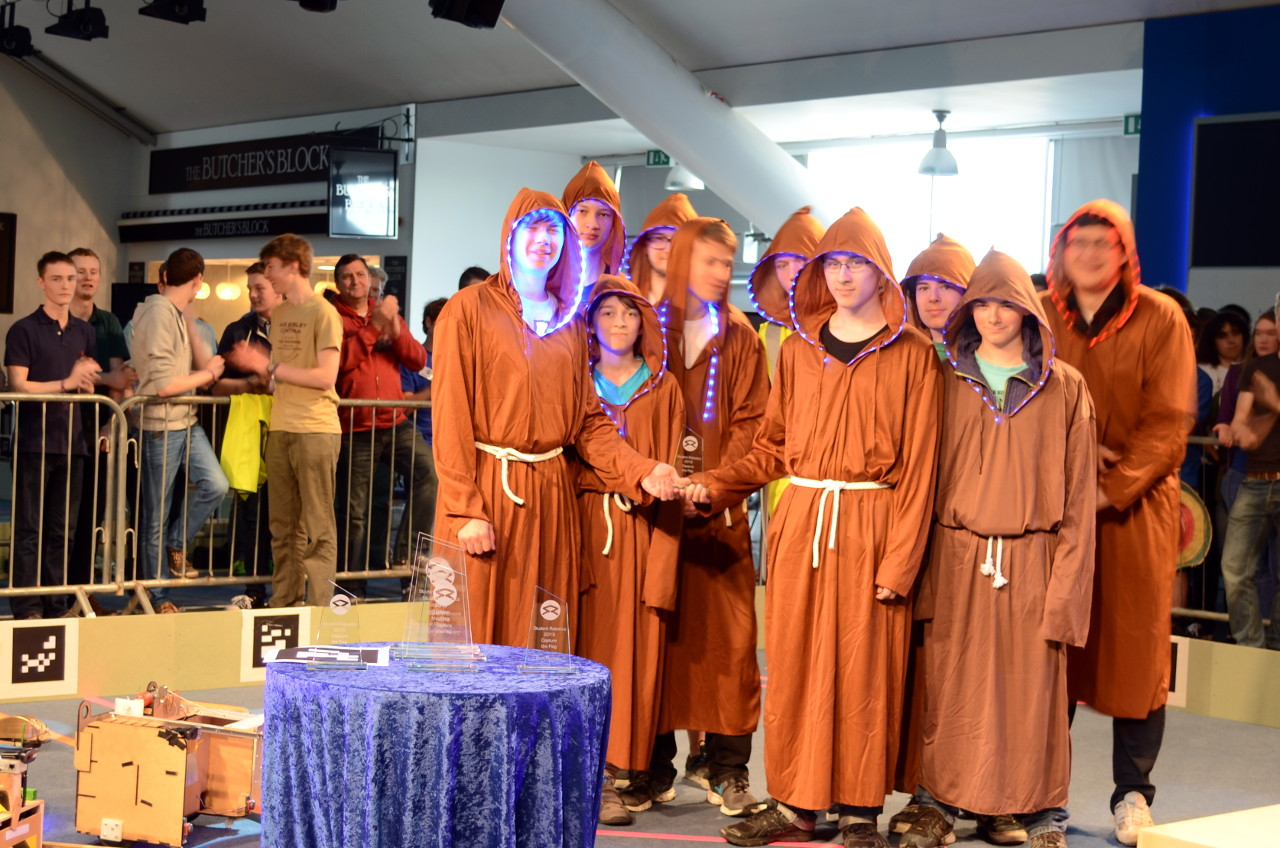
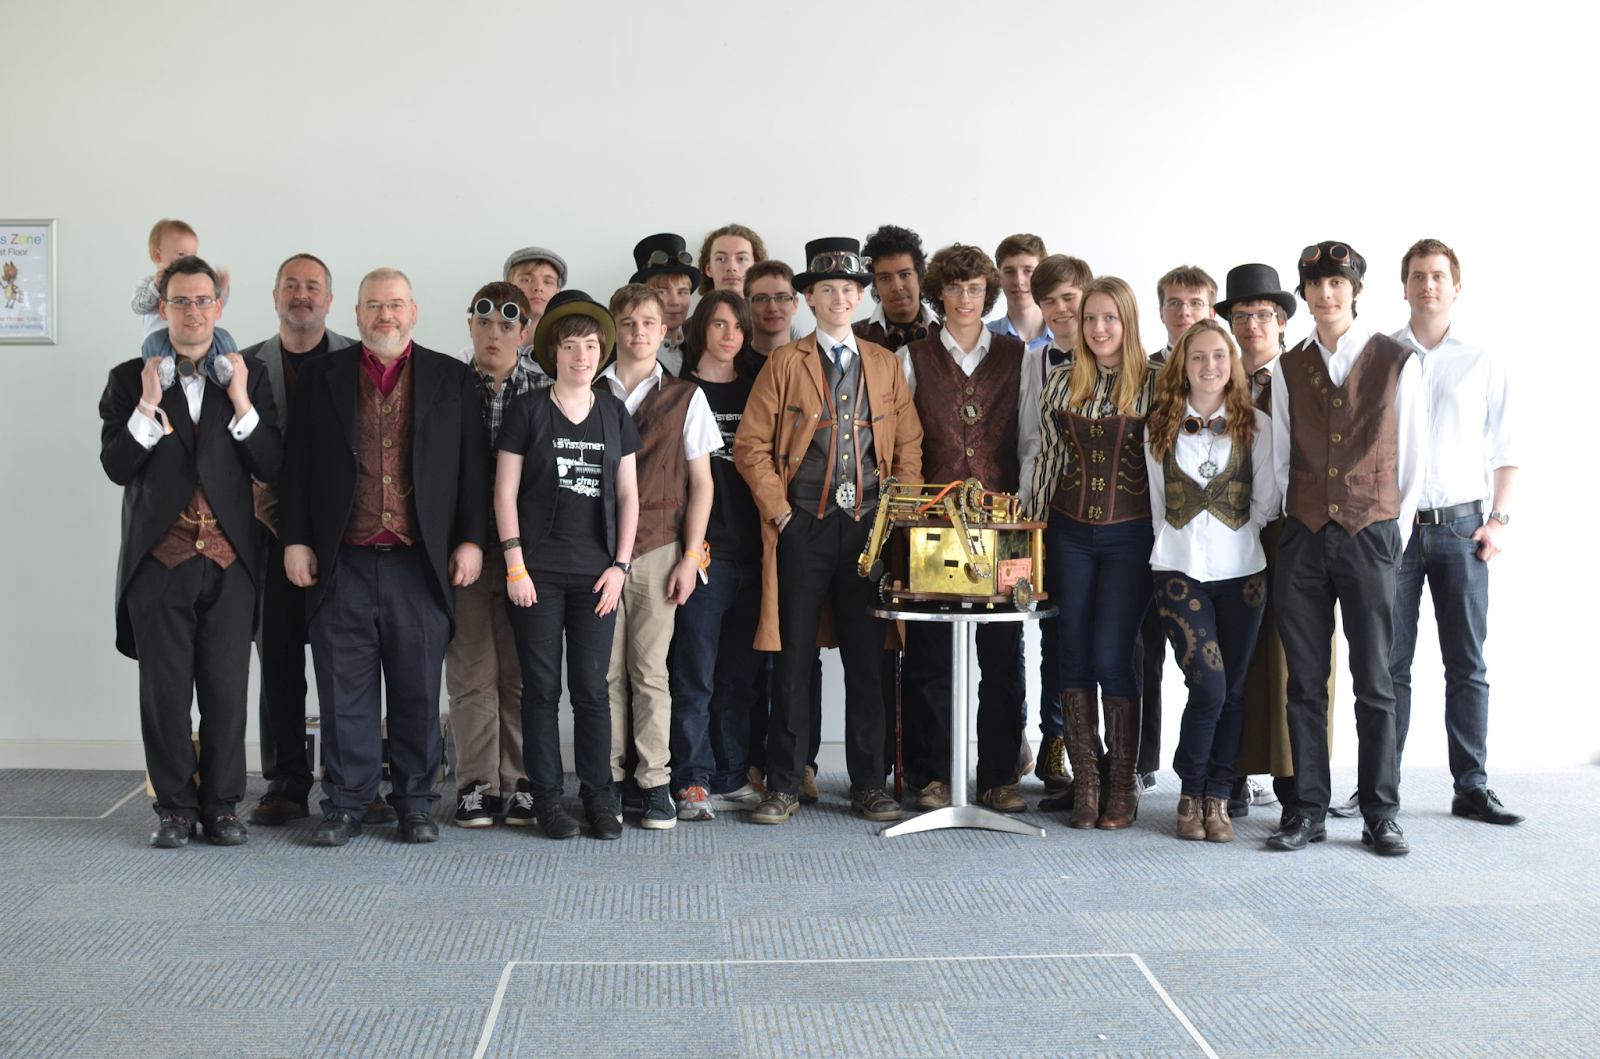
To give you some ideas, we’ve included some photos of teams we think did particularly well at previous competitions.

2022 - HRS: Hills Road's “Ducktor Who” As well as theming their robot,
small rubber ducks were placed around the event, as well as given to other
teams.
2022 - HRS: Hills Road's “Ducktor Who” As well as theming their robot, small rubber ducks were placed around the event, as well as given to other teams.
 2019 - HAB: Haberdashers’ Aske’s Boys’ School won the Robot and Team
Image award with their Hawaiian theme. This was complimented with inflatable
palm trees and a 3D paper pineapple on top of their robot.
2019 - HAB: Haberdashers’ Aske’s Boys’ School won the Robot and Team Image award with their Hawaiian theme. This was complimented with inflatable palm trees and a 3D paper pineapple on top of their robot.
2016 - MAI: ‘Measure, Analyze, Improve’ from Gymnasium Markt
Indersdorf, who came all the way from Germany looking very Frankenstein-esque,
wearing their bio-hazard suits and zombie face paints. Their robot was a
rotten-fleshy-green colour with a brain exposed.
2016 - MAI: ‘Measure, Analyze, Improve’ from Gymnasium Markt Indersdorf, who came all the way from Germany looking very Frankenstein-esque, wearing their bio-hazard suits and zombie face paints. Their robot was a rotten-fleshy-green colour with a brain exposed.
2015 - MAI: “42 * 2 - Double Vision” from Gymnasium Markt Indersdorf,
came dressed as monks in hooded brown robes, laced with glowing LED strips.
2015 - MAI: “42 * 2 - Double Vision” from Gymnasium Markt Indersdorf, came dressed as monks in hooded brown robes, laced with glowing LED strips.
2014 - HRS: Systemetric (HRS) impressed the judges with their steampunk
costumes and brass and mahogany robot (pictured).
2014 - HRS: Systemetric (HRS) impressed the judges with their steampunk costumes and brass and mahogany robot (pictured).

Robots 101 - Robot Design

Welcome back to our Robots 101 series! This time we will be looking at what you need to consider when designing a robot that is both practical for the game’s task and one that would fit our safety regulations.

The aim of this post is to give you a jumping off point rather than prescribe the best way to tackle Student Robotics. There will be things we’ve missed and may even be things that are not relevant to your specific team. Over the years teams have tackled the competition in all sorts of ways we never imagined. Please do experiment and come up with the best way for your team to work.

Strategy

Before settling on a final design, it’s a good idea to devise several different strategies. Making a scale plan or model of the arena, tokens, and robots is a very good way to start thinking about these and can aid discussion. Be sure to document the pros and cons of each strategy. Include point scoring, ease of implementation, additional items required to implement the strategy, and possible interactions with other robots.

Narrow the list and prototype some hardware (can be simple) to assess feasibility. The most complex, technologically advanced strategy is not necessarily the best. A simple (and elegant) strategy is more straightforward, quicker to implement and less likely to fail. On many occasions, a simple strategy has won the day.

Movement

How your robot will move is a key decision to make. Many options are available, and all have pros and cons: wheels, tracks, or legs, 2, 3 or 4-wheel drive, omniwheels etc. Types of motor: DC, geared, stepper motors, built-in or add-on encoders. You should research these methods and decide what will be best for your strategy. The ability to move a defined distance and/or rotate a specified number of degrees can be helpful.

Construction

The construction of your robot will be strongly influenced by the movement system you have decided upon. When planning the construction of your robot, a few things would be good to think about: the strength of your robot, how heavy it will be, the ease of modification or repairs, do you have sufficient ground clearance, is the robot protected from impacts, etc.

Note that the maximum dimensions of the robot are clearly defined in the rules. These are strictly adhered to and robots must comply or will not be allowed to compete.

Location of components

The power board has an ON/OFF and a START button. Both of these can be wired to remote switches if desired. The ON/OFF switch (remote or on the power board) must be easily accessible, clearly marked and visible. All the boards have LEDs on them that can provide valuable information for debugging.

The battery must be protected from mechanical damage on all sides. Failure to comply will result in disqualification. Having your battery easily accessible will make your life easier.

Two USB ports must be easily accessible to allow insertion of your code USB stick and the competition USB stick that will be provided by us for competition matches. Keep all wiring neat, tidy, well secured and away from all moving parts. Clearly labelling your components and wires is advisable. Ensure that you comply with the rules and safety regulations concerning wire colours.

Implementation

The process of building a robot is an iterative one. You may need to rethink and refine your strategies and return to earlier points in the process. Prototype and test to assess the feasibility of mechanical and software strategies. Test, test, test, test, test, test, test.

If something occasionally doesn’t perform as expected, be wary of ignoring it on the basis that it was a “glitch”, “one-off”, “it hasn’t happened again”. Often it will happen again and probably during the knockout stages of the competition! Investigate, identify and rectify.

Kit Software Update 2023.1.0

Our Kit team has been hard at work and are delighted to announce the release of the Kit Software version 2023.1.0 🎉. The full changelog for this release is on the updates page but we wanted to highlight a few of the notable improvements!

Remote Debugging

If there’s one piece of advice we give to our teams it’s “Test, Test, Test” and with Remote Debugging we hope to make this even easier!

Using VS Code (or any editor that supports DAP) competitors can now step through their code while it is executing on the robot. This will allow competitors to inspect variables, change execution flow, and gain a much deeper understanding of what their robot is doing at that very moment.

Remote Debugging in VS Code
Remote Debugging a robot in VS Code

Read the docs to learn more!

Dark Mode

We’re happy to announce that the Student Robotics Web Interface now has a Dark Mode!

The Student Robotics Web Interface in Dark Mode
The Web Interface in Dark Mode

The Web Interface will automatically use the system’s preferred colour scheme, but you can also manually toggle between light and dark mode if you wish.

Improved Vision

We’ve tweaked the calibration of the vision system to make it more accurate. We’ve also added support for processing images through our vision system after the image has been captured, unlocking the ability for teams to develop their own image processing pipelines.

Marker Sizes Changed

The last rules update reduced the size of the markers, and we’ve updated the vision system to match. You’ll need to re download the marker images and print them at the new size for vision to work as expected.

Vision Axes Changes

We’ve also made some opt-in changes to the vision axes. These changes are not enabled by default so as not to break existing code, but we recommend that teams update to use the new axes. By passing legacy_camera_axis=False to your Robot constructor you can opt-in to the new axes. These now follow the standard right-handed coordinate system, with the X axis pointing forwards, the Y axis pointing to the left and the Z axis pointing up. Yaw, pitch and roll are also corrected to their expected directions.